Heat Pump Pros and Cons – Should You Make the Switch?

October 19th, 2023

It’s been all over the news lately, both in Washington and even at the national level. Heat pumps have become a central part of the discussion about climate change and energy use. But what are the pros and cons of heat pumps, and will it be an improvement over your current HVAC setup?

The bigger question is, especially for us in the northwest – do you have air conditioning right now? Because if you don’t have it, and if you want it, pay close attention. Heat pumps may be just what you’re looking for.

What Is a Heat Pump?

Heat pumps operate differently from air conditioners and furnaces. They work by moving heat from one place to another, rather than always heating or always cooling your home. In the summer, they move heat from inside your house to the outside. In the winter, they move heat from outside to the inside. Along the way, compressors work to warm or cool the air, depending on how you have it set.

heat pumps move heat from inside or outside the home

The science is a bit complicated, but here’s what you need to know:

With a heat pump, you don’t need separate units for your AC and your heat. The heat pump handles both roles, and is able to heat your home in winter, and cool it in summer.

If you want to know the science, here’s a video explaining how heat pumps work.

Heat Pump Pros and Cons

So, let’s look at the advantages and disadvantages of heat pumps so you can make an informed decision about if switching to a heat pump is something you should strongly consider.

5 Advantages of Heat Pumps

The main advantages of a heat pump are:

1. Dual Purpose – Heat and Cool Your Home

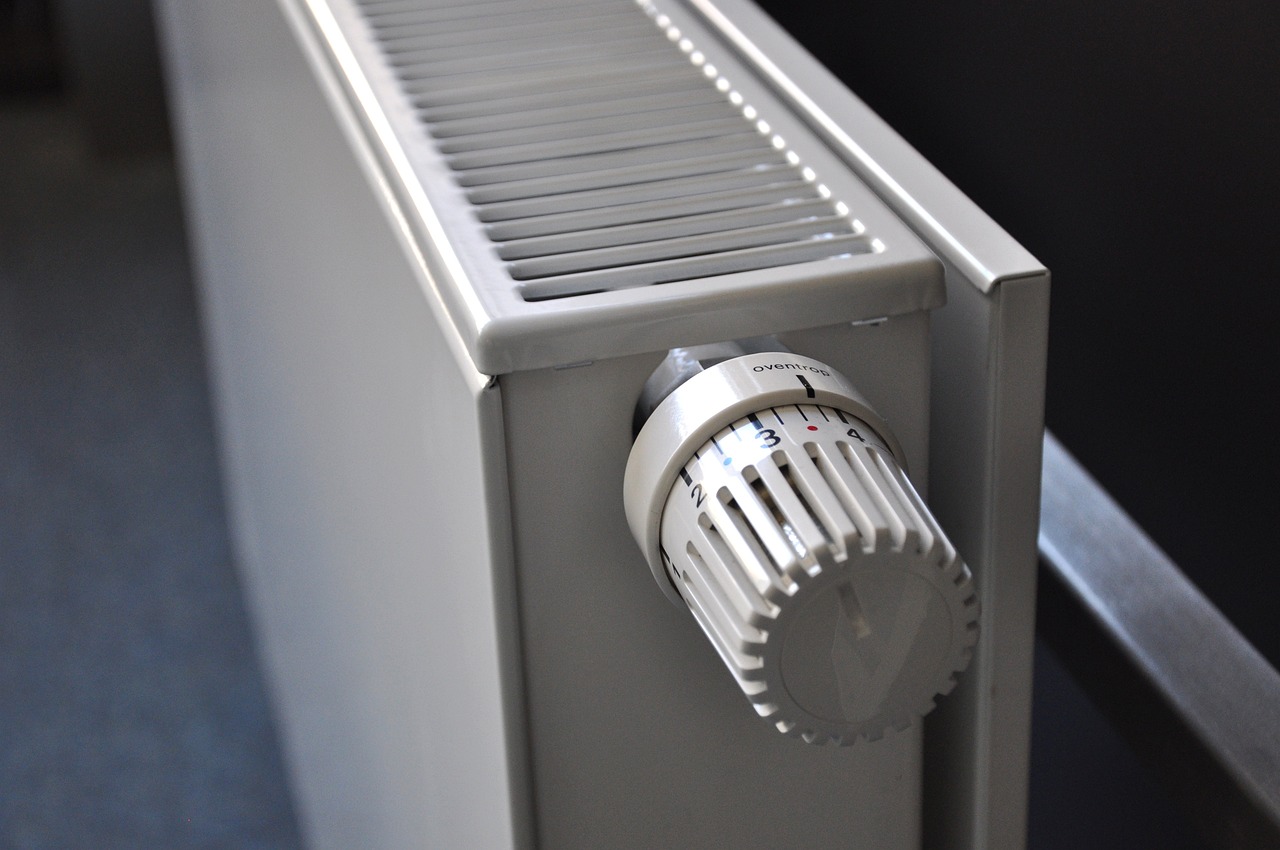
As already mentioned, heat pumps will heat your home in winter, and also cool it in the summer. That means you can achieve with one system what you needed both a furnace and an air conditioner to do before. A heat pump system includes an indoor and an outdoor unit to facilitate the movement of air as well as for backup heat.

The simplicity of this approach is obvious. Rather than require two separate systems to operate, you have just one. You still need an air handler to help circulate the air in your home, but you’ll need that regardless. With a heat pump, you no longer need a separate AC unit.

2. Heat Pumps Are More Energy Efficient

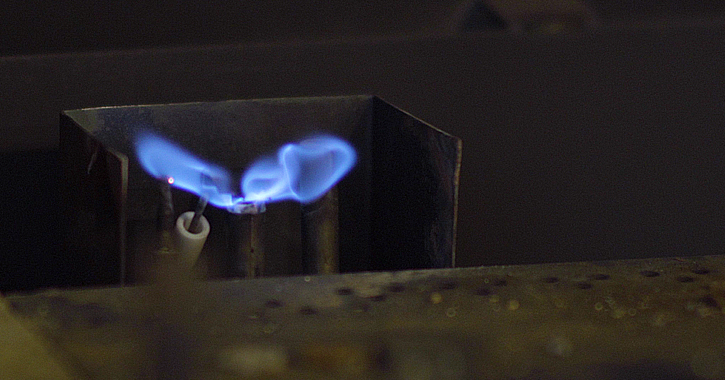
Heat pumps use less energy than HVAC systems that generate their own heat – and that includes natural gas. To heat your home, the heat pump takes the heat from the air outside and moves it inside. To cool in the summer, it does the opposite – remove heat from the home and send it outside.

heat pumps are more energy efficient than traditional heating like this radiator
An old-school radiator is much less energy efficient than a heat pump.

This method is far more efficient and better for the environment. Other systems have to actually heat up the air and blow it into your house. But the heat pump is just taking heat already present outside, and moving it into your home.

3. Heat Pumps Save Money Over Time

Because heat pumps use less energy to operate, your energy bills will be substantially lower in winter once you switch to a heat pump. The longer it operates, the more money you’ll save.

Just remember to keep changing out your air filters and perform regular maintenance, just like you need to with a furnace or an air conditioner. Clogged air filters make the system work harder, use more energy, and drive up your costs needlessly. This is true for any HVAC system. If you don’t change your air filters consistently – at least once per year – even the most energy efficient HVAC system loses its lofty environmental benefits.

4. Heat Pumps Reduce Your Carbon Footprint

Regardless of where you stand on the politics of it, the facts are pretty straightforward. Using a heat pump doesn’t just improve your energy efficiency. It also reduces your carbon footprint. This is especially true if you have gas heat, because burning gas produces carbon dioxide emissions, though the refrigerant used as part of the heat pump system also affects the environment.

heat pumps lower your carbon footprint

The heat pump requires electricity to operate, so however you are getting your electricity determines the degree of your emissions. But because they are more energy efficient, a heat pump produces less pollution than other forms of heating and cooling your home.

5. Heat Pumps May Reduce Humidity in Your Home

Because heat pumps move air, they can help moderate the humidity in your home. In the summer, they remove humidity by transferring air to the outside. In the winter, they can help avoid drying out the air the way traditional furnaces can, because they bring in air from the outside.

You may still need humidification in either scenario though. It depends on the specifics of your home.

3 Heat Pump Disadvantages

There are a few disadvantages of heat pumps as well. Here are the main ones.

1. More Costly Installation

On the front end, you will pay a bit more for a heat pump. Over time, you save money, but at first, it’s a higher cost.

Depending on the specifics of your home, you may be able to save money using a mini-split, which requires no duct work. For older homes where installing ducts would be very expensive, you can save money using a mini-split. Mini-splits use refrigerant lines instead of ducts, and still allow you to heat and cool individual rooms. In some homes, the costs of both these options will be similar.

2. Less Effective in Extreme Cold

This is the primary disadvantage of heat pumps.

When there’s hardly any heat outside, the heat pump has to work very hard to heat your home. In these conditions, your efficiency declines and your costs increase.

heat pumps take more time to warm up a very cold home

If you have natural gas right now, one way around this is to keep your natural gas as a backup system to use when temperatures drop into the mid-30s. The newer heat pump systems will detect the outdoor temperature, and automatically switch to the backup heating system.

The other key is to not wait until your home is super cold before turning on the heat pump. It’s much more difficult for heat pumps to heat up freezing homes than to maintain warmed ones.

But, all that said, heat pumps are not great options in locations that have long and very cold winters. Here in the Pacific Northwest, heat pumps are a good option because we don’t have very many freezing days. And if you use the backup approach, heat pumps can work just about anywhere.

3. Heat Pumps Have Longer Runtime

As you might have inferred from the previous item, heat pumps tend to heat up the home slower than traditional furnaces, and it takes them longer to cool it in the summer. For this reason, they are on for longer. If the sound of the heat pump running bothers you, this might be a drawback. And while mini-splits can in some cases be quieter, this isn’t always the case.

The key to remember is, as mentioned earlier, the system works much harder if you wait to turn it on. This is true in the summer too. If you wait until your home is 85 degrees before turning on the system, the heat pump will have to work much harder to cool the home, compared to if you had turned it on when you hit 75 degrees.

But either way, the system will be on for longer. The runtime is a pretty minor disadvantage, but if noise bothers you, it’s something to be aware of.

Want to Find Out More?

Every home situation is different. If you want to discuss the pros and cons of heat pumps for your specific home, have us come out and do an assessment.

And if you already have a heat pump but haven’t had it serviced in (gulp) years, get on our schedule and we’ll come out and perform some much-needed maintenance.

The Risks of Hiring Unlicensed and Uninsured Contractors in King & Snohomish Counties

March 1st, 2023

When you get bids for any home repair, remodeling, or construction project, it can be tempting to take the lowest number. After all, everyone likes a great deal. But when it comes to contractors, saving a few bucks to hire an unlicensed and uninsured contractor puts your finances, home, and entire way of life at risk.

dice reading risk to illustrate peril of hiring unlicensed contractor
Image by WOKANDAPIX from Pixabay

B&C Comfort provides HVAC and fireplace repair and installation, and we are licensed, bonded, and insured. But the issue of licensure and insurance extends to any and all contractors such as painters, plumbers, appliance installers, remodelers, floor installers, kitchen tilers, and pretty much any other contractor you can imagine.

If you’re not sure why it’s very, very smart to pay a little extra for a licensed and insured contractor, keep reading and see some of the risks of hiring an unlicensed contractor.

And to be clear, we are not lawyers. For certainty about the legalities of anything related to workers comp, liability, and general contracting, consult an attorney.

Why Do People Hire Unlicensed Contractors?

Most people who hire unlicensed contractors don’t even realize they’re doing it.

Some are just asking a friend or neighbor to help them, perhaps because that person has experience or used to work in the field. This type of person doesn’t realize their friend or neighbor is technically a contractor in this scenario. And as such, that person is unlicensed.

Others hire real companies that aren’t licensed just to save money. Such companies simply don’t want to bother with the licensing process and the associated costs. They get around this by presenting themselves as being more legitimate than they are, and because their rates tend to be lower, some people will hire them.

Some law firms, such as this one, will tell you these situations so often end up causing major problems for the person hiring the unlicensed contractor, and they have seen it “over and over.” This property management firm tells one story of a court case showing how bad this situation can get for the person hiring the unlicensed and uninsured contractor.

The Core of the Issue – Who Is Responsible?

choice of doors shows risks of hiring the wrong unlicensed contractor
Image by Arek Socha from Pixabay

This entire discussion comes down to the simple question – who’s in charge?

Here’s how to say it in industry terms:

If you as a homeowner hire an unlicensed and uninsured contractor, YOU become the general contractor. And as a general contractor, you are financially responsible for everything that happens with your project.

It’s pretty much that simple. So, let’s look at some of the risks you are taking on as a general contractor for your project.

Risk #1 – On the Job Injuries

If you hire a friend or neighbor to help you with a job at your house, or even a family member, and they get injured while working, you can be held liable for any medical bills or lost wages due to their injuries.

Workers compensation insurance is meant to take care of this situation, but an unlicensed contractor is forbidden from obtaining workers compensation insurance. So your contractor isn’t licensed, you can guarantee they are also not insured with workers comp or general liability.

Risk #2 – Shoddy Workmanship You Have to Pay for

Imagine getting your bathroom remodeled with the help of a friend who once did their own bathroom, so you trust them enough to have experience. Well, your house is different from their house. And they don’t know all the codes and best practices for how to mitigate mold, prevent water damage, and all the specifications and best materials to use for piping, connections, all the rest.

If your house ends up with mold, mildew, leaks behind the walls forcing you to tear a new hole in the wall to fix them – you will have to pay for all those cost overruns, and you cannot sue your friend even if it’s entirely their fault.

Since they have no general liability insurance, you will be judged to have taken the risk, knowing what you were getting into. Furthermore, your own home insurance probably won’t pay for the costs either, because they will hold you responsible for using an unlicensed contractor.

The same holds true if the contractor abandons the job before finishing. This happens. If the contractor is licensed and insured, you can either demand another person come and finish it, or sue them to pay for you to hire someone else.

Risk #3 – Collateral Damage

Another reason you need a contractor to have general liability insurance is to cover all the remaining potential problems other than personal injury.

For example, what if during the project a neighbor’s house, yard, or vehicle gets damaged? If your contractor has no insurance, you will have to pay for the damage if the neighbor wants you to.

What if other parts of your home get damaged?

Suppose you hire an unlicensed HVAC installer instead of an insured specialist like B&C Comfort to put in your new heat pump or air conditioner.

What happens if they accidently sever an electrical line or damage the plumbing during the installation? Since they aren’t licensed or insured, they are not obligated to fix it or to pay your costs for fixing it. And if they skip out on you, there’s not much you’ll be able to do about it.

With an insured and licensed installer, you won’t be on the hook for unexpected damages.

Risk #4 – Car-Related Accidents or Injuries

A third type of insurance that you want to see your contractor have in some cases is auto liability insurance.

If a contractor gets injured while loading or unloading equipment from their vehicle, or their vehicle damages your property somehow, this usually falls under auto liability instead of general liability.

An unlicensed contractor will not have auto liability either, which means that once again, you’re on the hook for any costs related to such damage or injuries.

Risk #5 – Reduced Home Value

An unlicensed contractor will likely not get any permits from the city government for the work they’ll be doing. Most permits can only be given out to licensed contractors.

This matters because if something gets installed improperly, and the lack of permits shows up in a home inspection report while you’re preparing your house for sale, it will cut into the value of your home unless you choose to make the necessary repairs before selling. Either way, you’re losing money – for the repairs, or on the resale.

Risk #6 – Loss of Warranties

Finally, yet another way hiring an unlicensed contractor to save a few bucks can come back to bite you is with warranties.

Most products that come with warranties, such as appliances, flooring, solar panels, air conditioners, and fireplaces, stipulate in their warranty language that the product must be installed by a licensed and contractor.

That means, if something goes wrong with your installation or your product and you discover a problem a few months later, the company that manufactures the product will void the warranty if you used an unlicensed contractor.

Did You Mess Up and Hire an Unlicensed Contractor?

If you’re reading all this and feel like you’re out of luck, you might be.

Here’s a state of Washington government page explaining how to file a suit against contractors for various reasons and scenarios. But unfortunately, if the contractor isn’t licensed and insured, most of these options won’t be available to you.

That’s not to say there are no options, but you’ll probably need help from a lawyer if you’re going to hope for a positive outcome.

What About B&C Comfort?

As mentioned, we are licensed, bonded, and insured and can install and repair fireplaces and HVAC equipment, which includes heat pumps, air conditioners, and furnaces.

If you need repair or installation work in any of these areas and live in northern King County or Snohomish County (see the footer of our home page to confirm if your zip code is in our service area), we’d love to help!

Visit our contact page to set up an appointment

Should I Turn Off the Pilot Light for My Gas Fireplace in the Spring?

May 31st, 2022

Most people in the Puget Sound region don’t use their gas fireplaces during the warmer months of the year in spring, summer, and early fall. So, it’s a common question – should you turn off your pilot light during those months? Is it dangerous or wasteful to leave it on?

The short answer is – you do not need to turn off your pilot light, and there is little risk in leaving it on all summer. Leaving it on is the simpler way to go. But, if you want to turn it off, you can, and there’s no harm in that either.

For more details about shutting off your pilot light, keep reading.

What Is a Pilot Light?

photo of a fireplace pilot light burning

Your gas fireplace is never actually ‘off’ in the usual sense of that word. For most fireplaces, there is a very tiny flame that is always burning, and that’s called your pilot light. Some newer fireplaces feature a standing pilot system with an ‘intermittent pilot,’ where the pilot isn’t actually on all the time. But in general, when you flip the switch that turns ‘on’ your gas fireplace, what you’re really doing is just increasing the flow of gas and enabling the larger fire to burn.

The pilot light is what makes the gas fireplace so easy to use.

Compare it to a gas barbecue. For a BBQ, you have to ignite the flame every time you use it. There is no flame always burning. But with a gas fireplace, and other gas elements in your home, the pilot light never stops burning, unless you have a standing pilot system, as mentioned. Either way, everything lights when you turn it on, every time.

What Happens if I Leave My Pilot Light Burning All Year?

In theory, nothing happens, and there’s nothing wrong with doing this. And in fact, it has a couple advantages. If you were to turn off your pilot light, there’s always a small chance a spider will crawl in there and build a web. That will greatly complicate the process of turning the pilot light back on in the fall. Leaving it on ensures this won’t happen.

It’s also true that there is a small cost to leaving the flame burning year-round. Costs vary depending on the price of natural gas in your area. The cost works out to around $5 per month in most places, give or take.

Hiring a technician to re-light your pilot light in the fall will surely cost more than that, so turning off your pilot light to save money doesn’t really make sense.

If your pilot light is off for some reason and you need help turning it back on, we recommend calling your gas provider. B&C Comfort generally doesn’t make house calls just to turn on pilot lights, and we would also charge you to service the unit for maintenance.

As for safety, yes, turning off your pilot light will reduce the likelihood of experiencing a gas leak during the spring, summer, and early fall. But those are just as likely in the winter as in the summer – which is to say, gas leaks are very rare. Plus, there are built-in safety mechanisms that shut off the flow of gas if the pilot is leaking.

However, if you ever do smell gas, shutting off your gas valve and turning off the pilot light is the first step to take. Then, call your gas company.

What If I Can’t Figure Out How to Turn On or Off the Pilot Light?

If you can’t figure it out, that’s a good reason to leave it on and not worry about it. Or, you can call a professional and have them take care of it.

Is Turning the Pilot Light Back On As Easy As Turning It Off?

No. Turning off the gas is relatively easy. You just turn the valve and shut off the flow of gas. This extinguishes the small flame that is the pilot light.

Turning it back on is more complicated. If you just turn the valve back on, all this does is resume the flow of gas. But the pilot light is a flame, and it must be relit. As you can imagine, there are some safety considerations here.

That’s why we recommend having a professional from your gas company come in to re-light your pilot light. Again, if you ask B&C Comfort to do it, we will charge you for and perform a full service and maintenance call.

If you don’t want to pay for that, then the simple solution is to leave your pilot light on continuously through the summer. But if for any reason you’d rather turn it off for the warmer months, then make it a habit to book your appointment right then to have it turned back on in the fall.

If you live within our service area in and around Snohomish County (see the complete list of zip codes at the very bottom of our home page), our schedule fills up months in advance.

So if you want to turn off your pilot light in the spring, get on our fall schedule now so you can have it turned back on before the cold weather returns!

How to Change the Air Filter On Your Air Conditioner or Furnace

January 28th, 2022

So you’ve decided it’s time to change the air filter on your air conditioner or furnace. Good decision! The reality is, you should be changing this regularly, at least a couple times per year even in the mild climate of the Greater Seattle area.

But if you’ve never done it before, how do you change an air filter?

The good news is, it’s actually pretty simple in most cases. We’ll walk you through the basic process. However, if you still aren’t able to figure it out, you can always give us a call and we can try to talk you through it over the phone. Or if necessary, we can come out and help you in person.

Before we get to how to change it, let’s quickly address how you know it’s the right time to change the air filter on your air conditioner.

One good way to test this is to hang a white sheet about five inches away from one of your vents, and leave it there for an hour. If during that time the sheet turns noticeably gray, that’s a good sign your air filter is due for replacement. Also, if there’s a buildup of dust around your vents, no need to use the sheet because that’s also a clear sign your filter is probably clogged up.

And in case you’re wondering, here’s a post on why changing your air filter is so important, and how it protects your health, your wallet, and your comfort.

How to Change an Air Filter in 6 Steps

1. Find the Air Filter

This step might seem silly, but sometimes, especially in larger homes with multiple vents, ducts, and other HVAC equipment, finding the air filter can be a little challenging.

Generally, it will be in the main air handling unit or in the main air duct vent. It could be in the return air duct that pulls air from your home back into the HVAC systems. Or it could be near the air handler that blows out the warm or cool air. This is quite common if your heating and air conditioning systems share the same ducts, which is true in most households.

You probably will have to open up a metal panel on top of the unit if it’s in the actual device, and this might require some unscrewing. In other cases, the door may be held with hooks, or it might just open up with minimal effort.

2. Turn Off the Power

You can turn off the unit or just switch off the circuit breaker. But you want to make sure there is no chance of electricity still operating in the unit when you open it.

3. Remove the Current Air Filter

Next, once you find the air filter and turn off the power, you can remove the current air filter from its location.

When you do this, pay attention to the orientation of the air filter. There are usually arrows printed on the sides of it pointing in one direction, either toward where the air is blowing from, or away from it. You will want to insert the new air filter facing the same direction, so pay attention to the old one before you take it out.

4. Inspect the Current Air Filter to Decide on the Replacement

Once you remove the air filter, take a moment to look at it. It will probably be quite dirty, especially if you’ve never done this before or it’s been a while. Hold it up to the light. If you can’t see much light through it, it’s dirty.

Assuming you need to replace the air filter, you want to learn two things in your inspection:

  1. The size of the air filter that fits in your system
  2. The MERV rating

Air filters come in many sizes. Generally, you’re looking for a length and a width, and it should be printed somewhere on the filter. If you can’t find it, you can always just measure it yourself. To be sure, you can also just bring the filter into the hardware store and make sure the new one you buy is the same size.

MERV stands for minimum efficiency reporting value. The higher the MERV rating, the more effective the air filter is at filtering out particulates. Ratings above 10 are considered able to filter out microorganisms that can impact your health and air quality.

The lowest quality air filters are made of fiberglass. These cost less, but they don’t last as long and need to be replaced more often, like almost every month. Pleated air filters are higher quality and should last several months.

HEPA filters are the highest quality. However, these are so good that in some HVAC systems they can impede airflow so much that the system has to work really hard to heat or cool your home, increasing your costs and risking breakdown. So just going for the highest possible MERV is not necessarily the best idea.

If you’re in doubt, give us a call and we’ll try to help you out over the phone. In general, you should be okay with a MERV rating between 5 and 13.

5. Dispose of the Old Air Filter

Especially if it’s very dirty and filled with possible health hazards, it’s a good idea to slip the old air filter into a plastic bag and then throw it in your usual garbage can.

If you happen to have a reusable filter, then you’ll need to add a step here to clean it and wait for it to dry. Some reusable air filters can be washed with water. Others can be vacuumed. Check the instructions on yours to find out how to clean it.

6. Buy and Insert the New Air Filter

Then, go to the hardware store and pick out the new air filter of the right size and desired MERV rating. Or, order it online. But if you do that, be absolutely certain about the size. Going to the store is a less risky approach because you can compare the old filter to the new one right there.

To insert the new one, slip it in the same way the old one came out. Again, use the arrows on the side to make sure it’s facing the correct direction.

The arrows always face away from the return air duct, and toward the air handler system.  If that’s confusing and you aren’t sure if the original was installed right, give us a call and we will try to talk you through it.